0
My Cart
No products in the cart.

Hello to all our model makers and warmer friends, I want to share with you our working technique.
In Scenery Forge we have developed an easy way to make your plaster buildings harder and long lasting by applying polyurethane resin over them once they are built and dry.
As you surely know, plaster is an excellent material to work with since it’s easily mixable and allows for fast reproductions. It’s harmless to the mould and for us is easy to sculpt, cut, carve, modify and , in general, work with it.
These amazing characteristics come with some undesired defects: fragility. That’s why in Scenery Forge we have developed this easy and costless technique to end that fragility and ease the painting of the finished piece.
We use and recommend you plasters that are not hard, since the harder plasters are are too difficult to sculpt and carve, and they can not absorb as much resin as softer plasters.
The use of economic and porous plasters together with the polyurethane resin will result in a material better than harder plasters and at a much minor cost. We use E-35 plaster type (commonly used in building) since it is capable of absorbing several layers of resin, it allows for easy reproduction and its price is very competitive. You can find the E-35 plaster in any building materials shop.
Polyurethane resin is a common material in model making. I recommend you to use the cheapest you can find, because it gives excellent results. It is very easy to use, just mix 50% of products A and B and you will have enough time to apply the liquid result (it takes 2,5 minutes to solidify).
We strongly recommend to prepare the resin in small amounts so you have the necessary time to apply it before it hardens, avoiding wasting material in the process.
You should apply the resin over dry plaster always, use a medium/big brush to extend it over the whole model to ease absorption.
After the first layer you’ll be able to see how plaster has absorbed the resin fully, so you may want to apply a second, and even a third layer, that will make your models resistant to all kinds of hits.
When your building begins to look wet and shines it means the plaster can not absorb any more resin.
Remember to apply the resin in its most liquid state and extend it energetically with the brush to avoid accumulation in crevasses and drops.
This technique is easily applicable to all kinds of materials, not only plaster, so feel free to experiment on wood, cardboard and even cork.
Be careful not to overload the model with resin as it can cover small details if you put too much of it over the plaster. The appropriate use of resin will leave your model ready for priming and painting as resin will prevent that the plaster ‘drinks’ the painting.
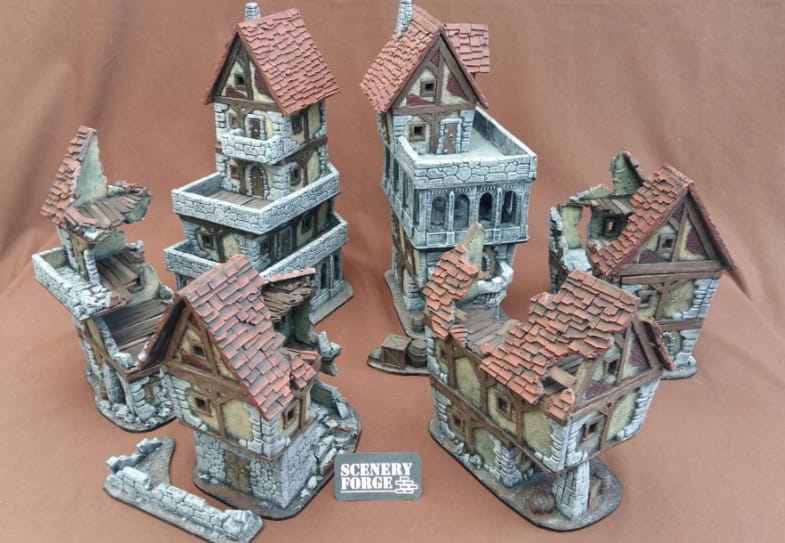
Remember, all our samples were made with this technique, without measuring, just by combining different pieces from our moulds.
I really hope this technique proves to be as helpful to you as it is for us.
Thanks for your visit!

Alcalá de Guadaira (SEVILLE)
sceneryforge.cs@gmail.com